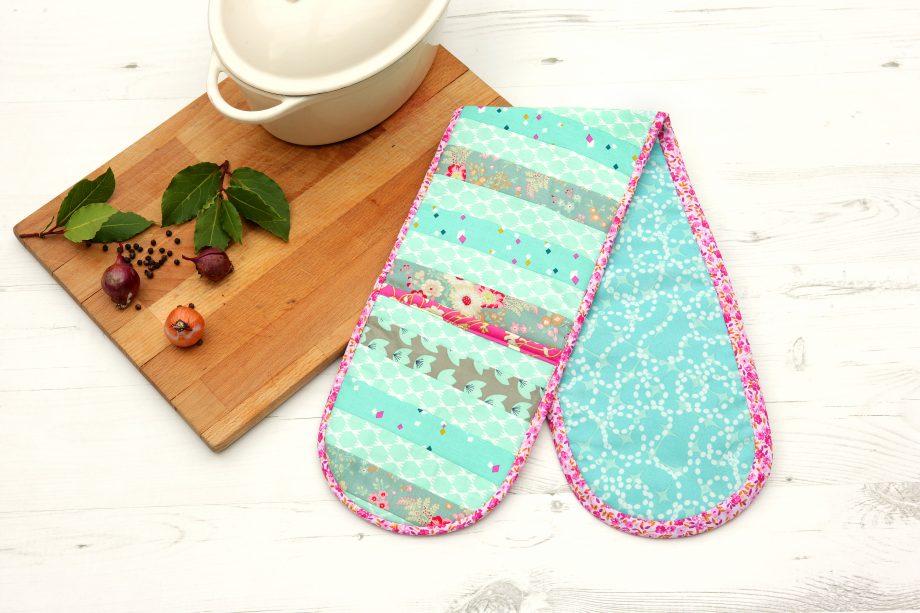
Use up your stash of fabric scraps for this patchwork project
Make an oven glove to match your kitchen decor. Simply collect up some fabric scraps from your craft stash to create the patchwork style of this kitchen accessory.
Once you’ve sewn this oven glove, have a go at our other kitchen sewing projects. Like these appliqué pot holders, coastal kitchen accessories, and this sweet child’s apron.
You will need:
- Rotary cutter
- Quilter’s ruler
- Cutting mat
- Teal fabric scraps
- 14 x 35in piece of teal fabric
- Thermal batting
- Matching sewing thread
- Hand-sewing needle
- Pink patterned bias binding
- Circular side plate
- Pencil
For craft supplies, check out John Lewis & Partners

How to make an oven glove:
1. Using the rotary cutter, quilter’s ruler and cutting mat, cut the teal fabric scraps into 42 strips, each measuring 1½ x 7in. Join seven of the strips together along the long sides, leaving a ¼in seam allowance. Repeat with another seven strips for the mitts, then sew the remaining strips together for the main panel.
2. Cut the large piece of teal fabric into one 7 x 35in and two 7 x 8¾in rectangles. Repeat for the thermal batting, following the manufacturer’s instructions for how many layers you will need for an oven glove.
3. Layer the patchwork pieces with the matching teal fabric and batting, sandwiching the batting between the fabrics with the right sides facing out.
4. Along one of the long edges of each mitt, sandwich the raw edge with bias binding. Pin and topstitch to secure.

5. Place the mitts at each end of the main panel with all the patchwork sides facing up and pin the layers together.
6. Using a circular plate, round off each end of the oven glove, tracing the curve onto the fabric with a pencil, then rotary cutting the excess away.
7. With a small zigzag stitch, sew all the outer edges together to secure the layers.
8. Open out the bias binding and pin around the edge of the oven glove with the raw edges aligned. Sew with a ¼in seam allowance. Fold the binding to the back of the oven glove to enclose the raw edge. Then, using the matching thread and hand-sewing needle, slip stitch the binding in place.

 USD
USD EUR
EUR
 GPB
GPB


